Accept online payments in your angular application using ngx-theteller
In this tutorial we will be looking at how to easily implement mobile money and card payments in your angular application so follow along.


Allowing users to purchase goods and services in your app is one of the features you might need especially when building an e-commerce application or an app that allows users to subscribe to a service. There are a lot of payment aggregators but in this tutorial we will be using theteller by PaySwitch Ghana. With a single integration, you can accept payments from cards to mobile money, and access a suite of functionalities. So let's dive in.
First let's look at what we will need.
- Sign up with theteller here
- Make sure you have nodejs installed (v16.14.2 as of the writing of this article). If not download and install one suitable for your OS
- Make sure you have angular CLI installed (v13.3.1 as of the writing of this article), if not you can follow these instructions
Let's begin by first creating a new application. Navigate to the folder you want your application to reside in and run this command
ng new ngx-theteller-example
ngx-theteller-example is the name I chose to name my application, you can also name it whatever you want.
If prompted Would you like to add Angular routing? enter y and click enter. For more on Angular routing you can check the official angular documentation.
If prompted Which stylesheet format would you like to use?, I mostly choose SCSS but you can also choose the format you prefer.
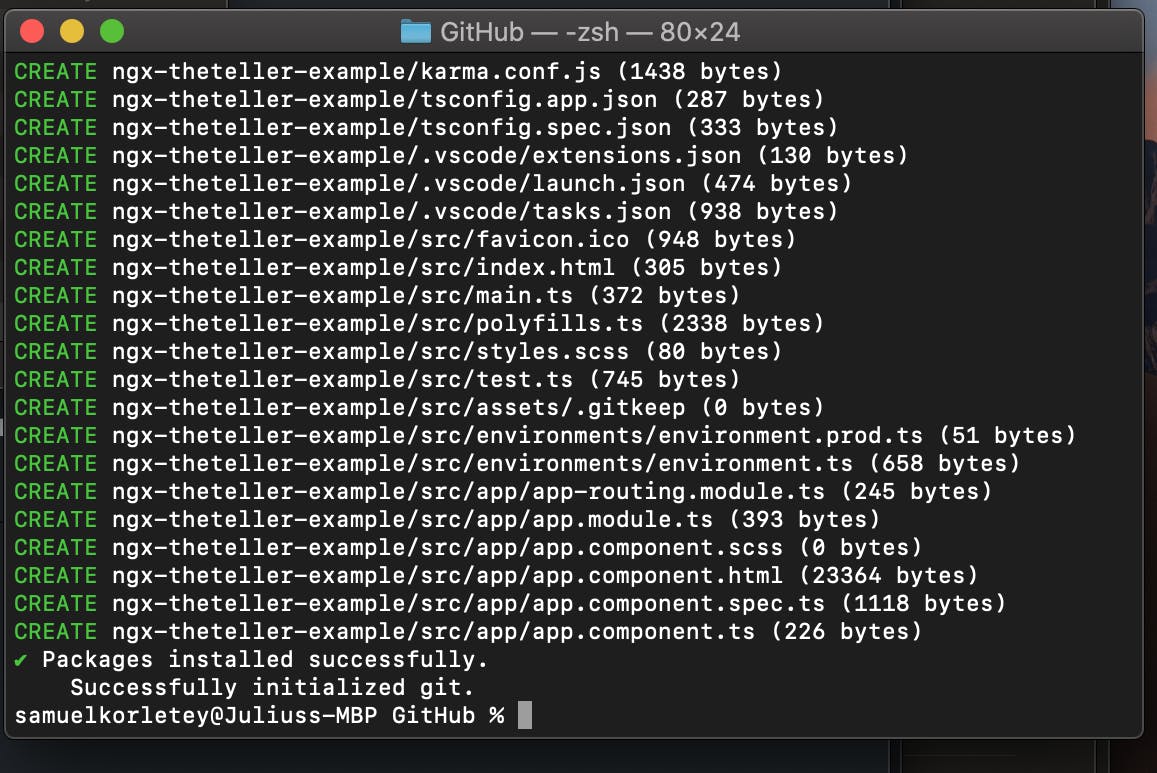
After a successful installation you should see something like the screenshot below.
Next open the application in your favourite IDE, I will be using VS code.
Next open the app.module.ts and import the ngx-theteller module
import { NgModule } from '@angular/core';
import { BrowserModule } from '@angular/platform-browser';
 // import ngx-theteller module here
import { NgxThetellerModule } from 'ngx-theteller';

import { AppRoutingModule } from './app-routing.module';
import { AppComponent } from './app.component';

@NgModule({
  declarations: [
    AppComponent
  ],
  imports: [
    BrowserModule,
    AppRoutingModule,
    // add ngx-theteller module here
    NgxThetellerModule
  ],
  providers: [],
  bootstrap: [AppComponent]
})
export class AppModule { }
Next we will declare the options we will pass to the component so go ahead and open app.component.ts and paste this code
import { Component } from '@angular/core';
import { environment } from 'src/environments/environment';

@Component({
  selector: 'app-root',
  templateUrl: './app.component.html',
  styleUrls: ['./app.component.scss']
})
export class AppComponent {
  title = 'ngx-theteller-example';
  // declaring options starts here
  apiKey = environment.THE_TELLER_API_KEY; // API key. You will get this in your theteller account
  transactionId = Math.floor(100000000000 + Math.random() * 900000000000).toString(); // A unique 12 digit transaction id
  amount = 1; // amount to charge
  currency = 'GHS'; // currency to charge in. If not defined, default is GHS
  customerEmail = 'test@email.com'; // customer's email
  returnUrl = 'https://juliusasante.com'; // A url to redirect to after a successful payment. It can be a page showing a successful transaction message to the user
  paymentMethod = 'both'; //Payment method, options include card, momo and both. If not specified, default is both
}
Next we will add the ngx-theteller component so open the app.component.html, clear all codes and paste the code below.
<ngx-theteller
 [apikey]="apiKey"
 [transaction_id]="transactionId"
 [amount]="amount"
 [currency]="currency"
 [customer_email]="customerEmail"
 [return_url]="returnUrl"
 [payment_method]="paymentMethod"
></ngx-theteller>
You can check the various parameters you can pass in the official ngx-theteller documentation
Great we are almost done. Next, let's define our theteller API key in our environment.ts file
// This file can be replaced during build by using the `fileReplacements` array.
// `ng build` replaces `environment.ts` with `environment.prod.ts`.
// The list of file replacements can be found in `angular.json`.

export const environment = {
  production: false,
  THE_TELLER_API_KEY: "Your API key"
};

/*
 * For easier debugging in development mode, you can import the following file
 * to ignore zone related error stack frames such as `zone.run`, `zoneDelegate.invokeTask`.
 *
 * This import should be commented out in production mode because it will have a negative impact
 * on performance if an error is thrown.
 */
// import 'zone.js/plugins/zone-error';  // Included with Angular CLI.
After a successful sign up, you can find your API key in your theteller account
Finally, we need to add the js file to our angular.json
...
"scripts": [
     "node_modules/ngx-theteller/assets/js/payswitchProd.js"
 ]
...
That's it we are done so let's run our app. In your terminal, navigate to the root of your application and run
ng serve
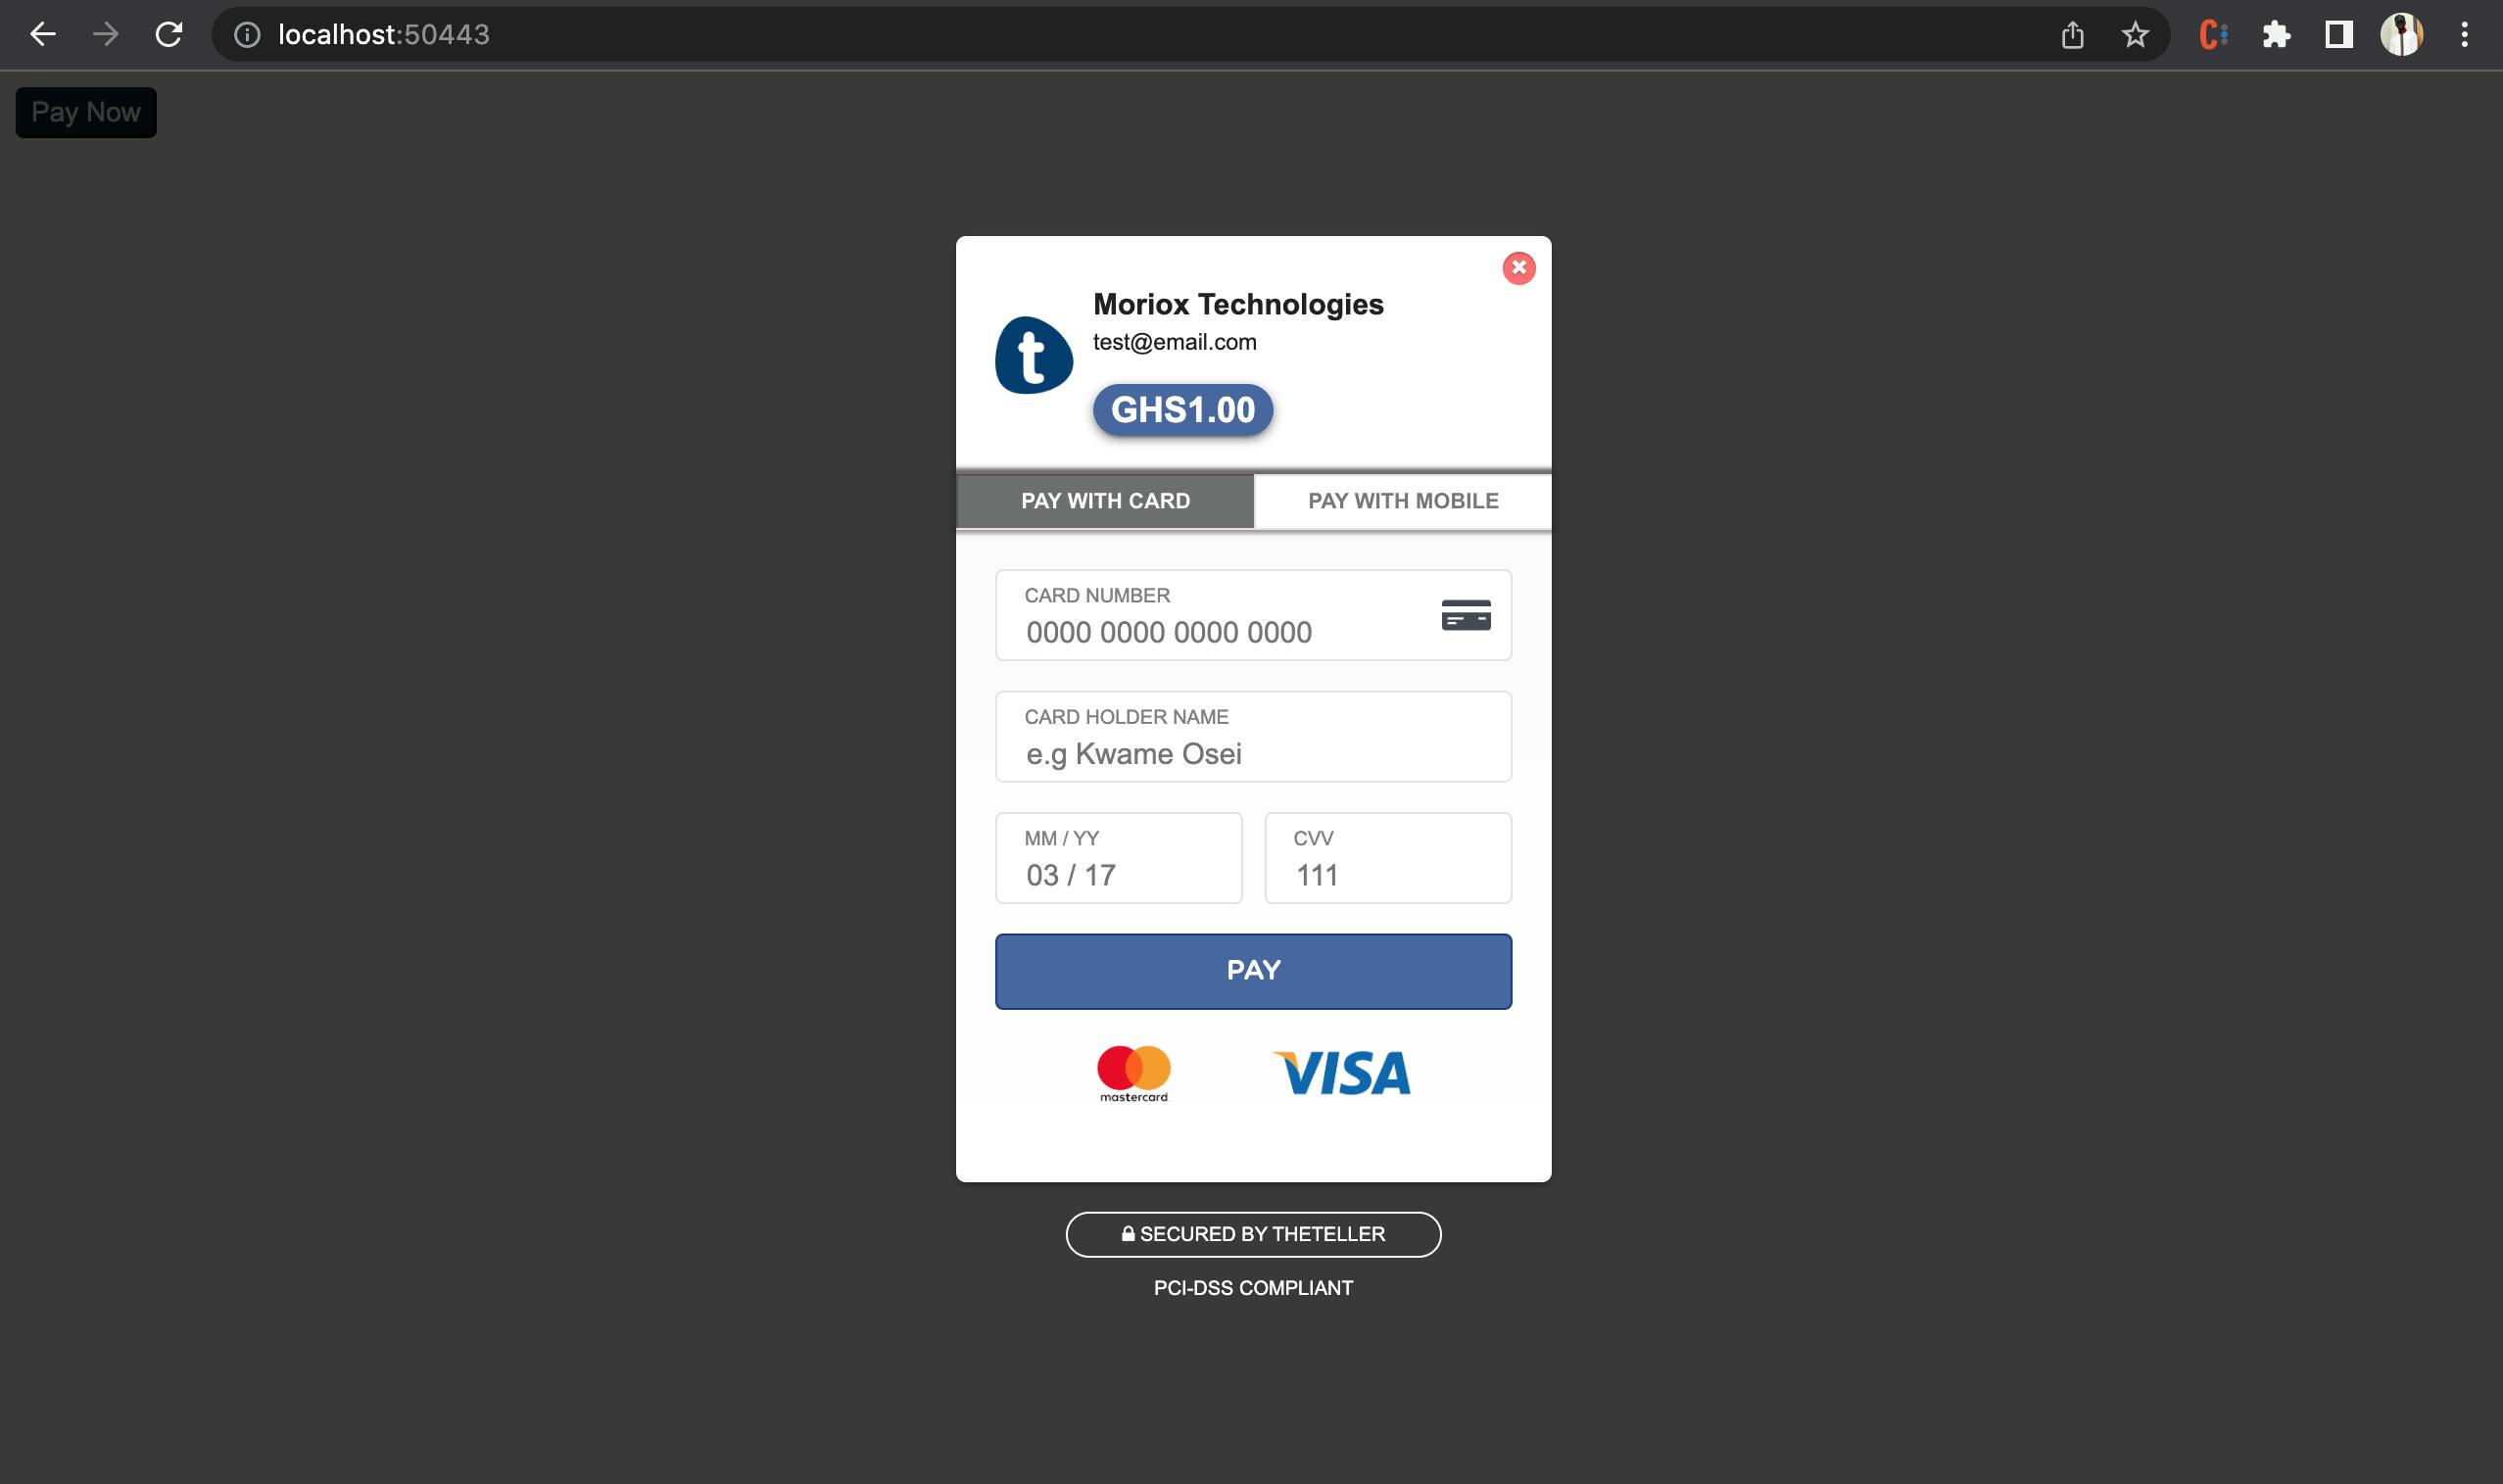
After a successful build, you should see a page with a single button in your browser, when the button is clicked you should see a modal like below
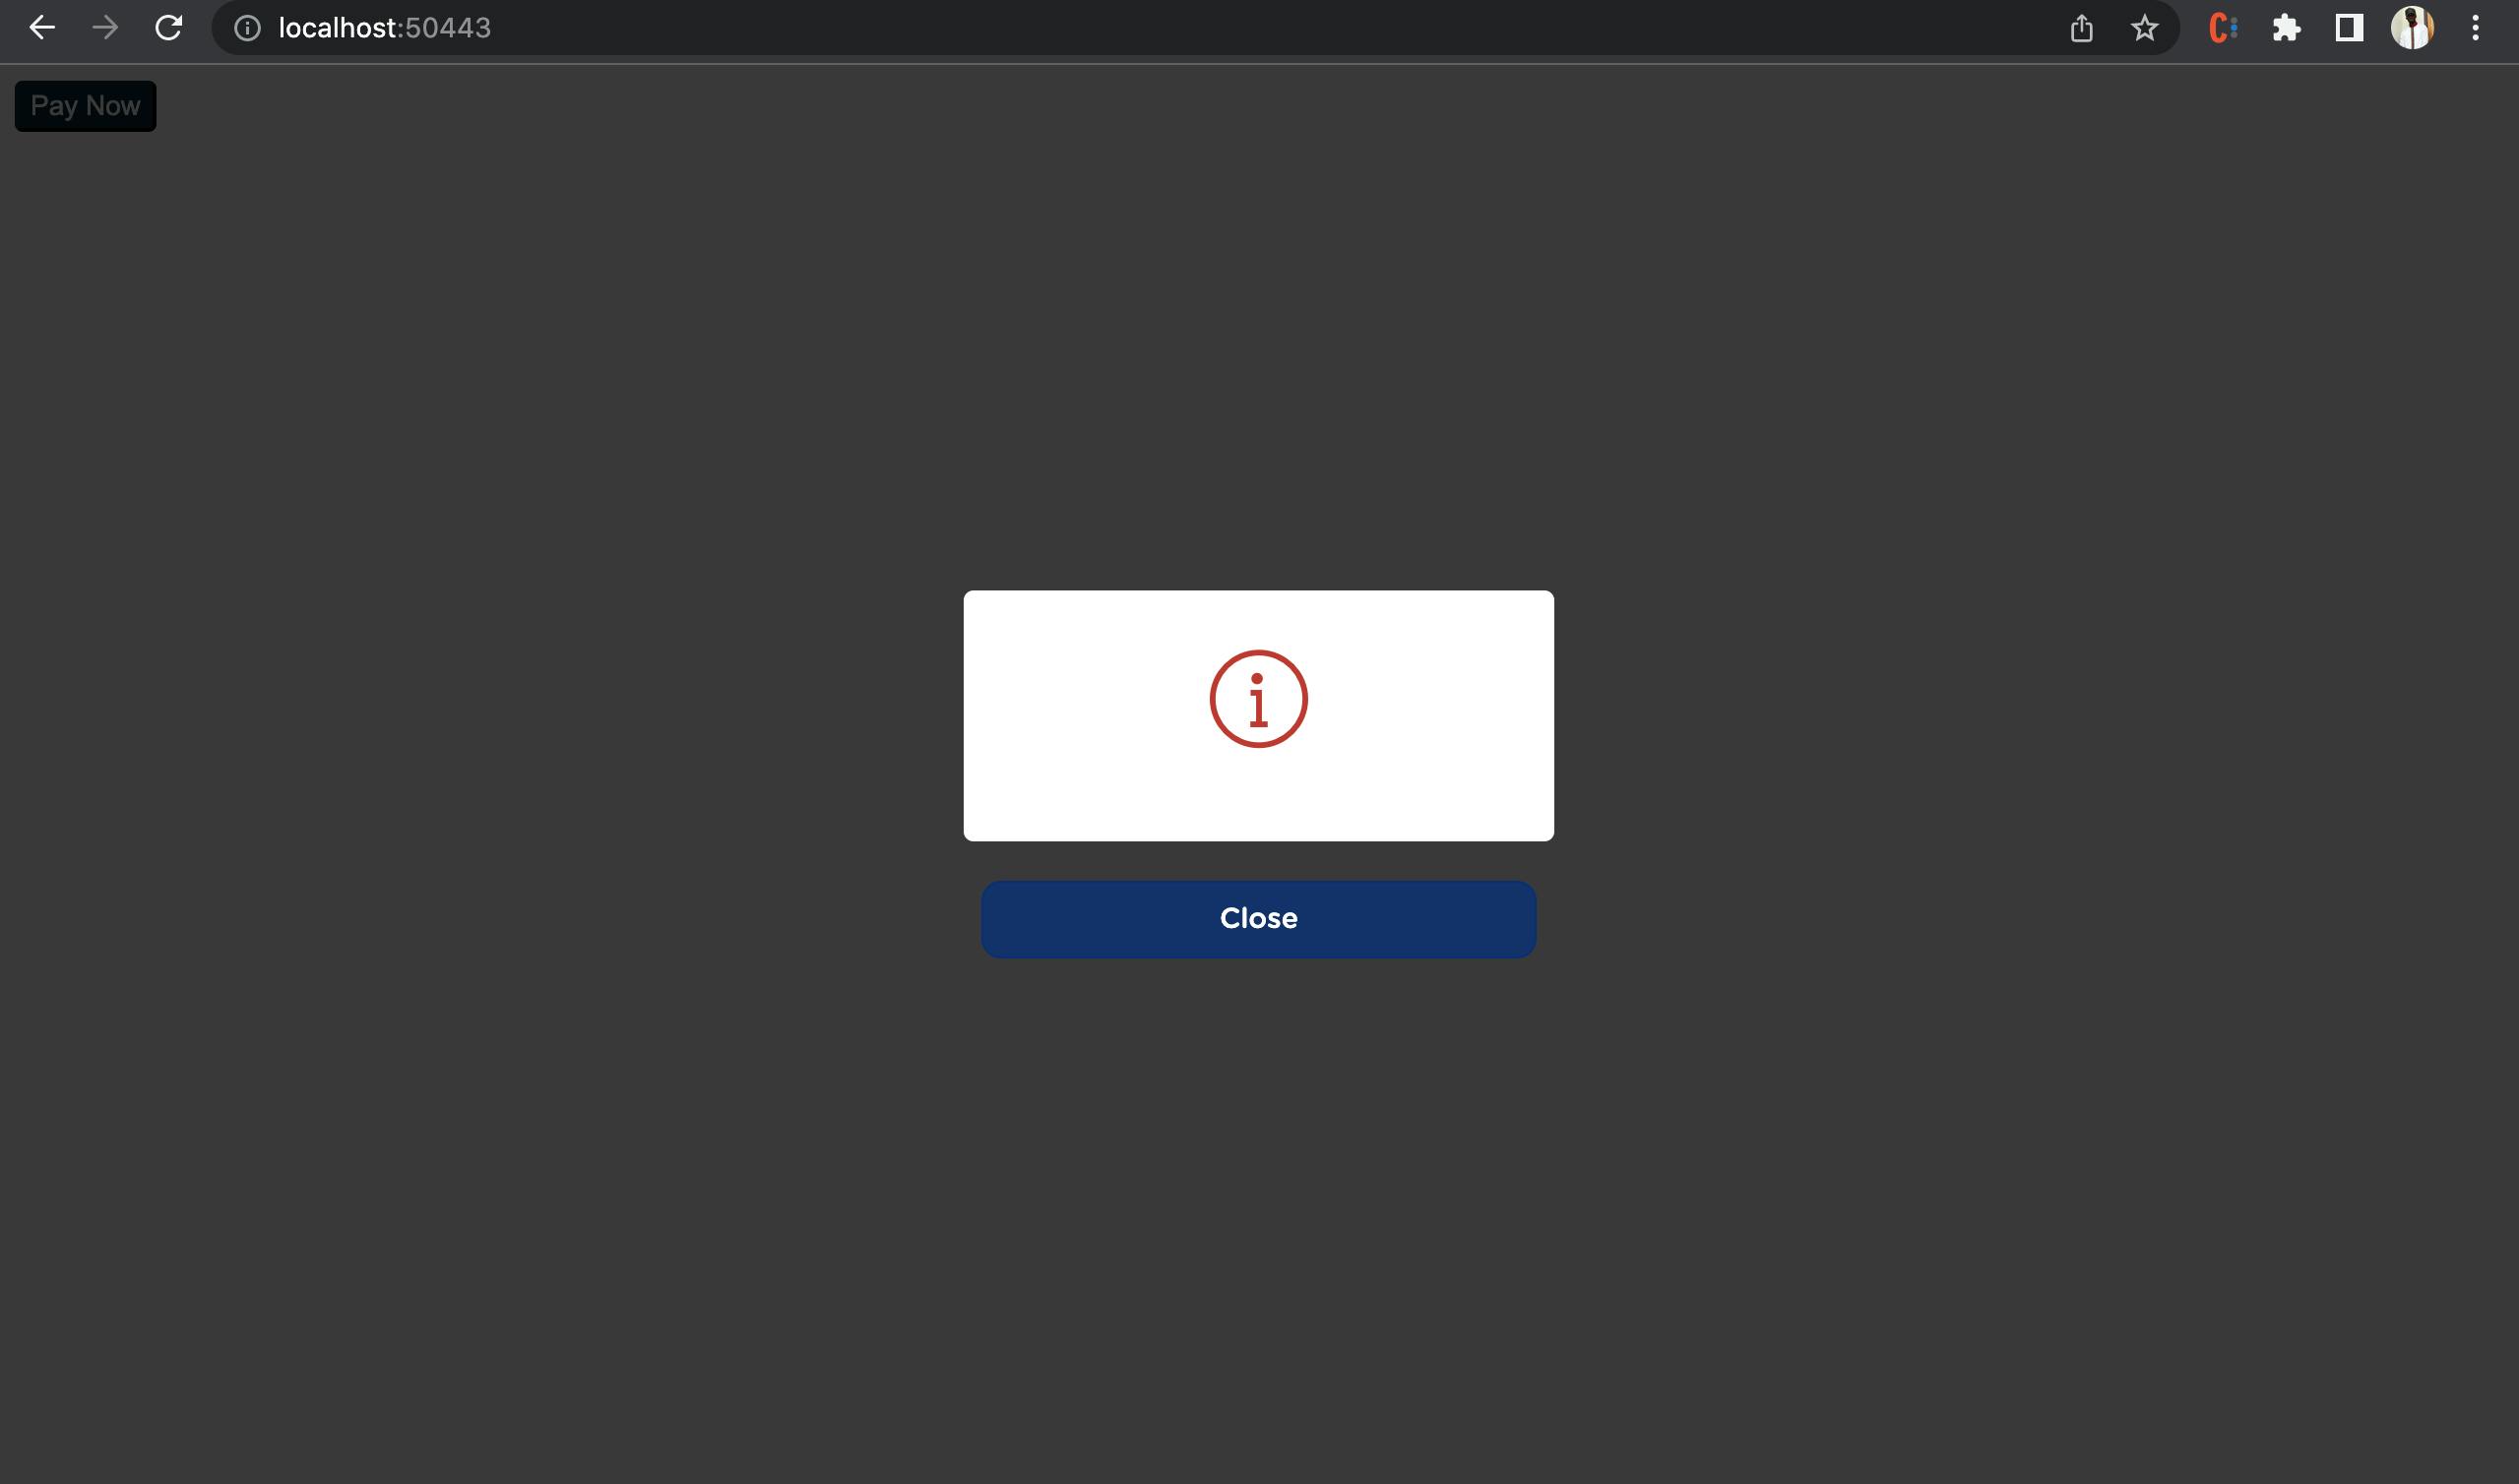
If instead your modal looks like below, kindly check and make sure you entered the right API key.
Summary
In this short tutorial we looked at how to add a payment button to an angular application using ngx-theteller to facilitate the processing of mobile money and card payments using TheTeller.
Codes for this tutorial can be found on Github