
IndexedDB in Angular with NgxIndexedDB
In this tutorial you will learn about how to add and retrieve data including files to indexedDB using NgxIndexedDB in Angular 11


Building a web app sometimes you want to add offline capabilities to your application. You can do this using a client-side database like indexedDB. IndexedDB is a low-level API for client-side storage of significant amounts of structured data, including files/blobs. This API uses indexes to enable high-performance searches of this data. You can read more about IndexedDB here
In this tutorial we will use ngx-indexed-db, a service that wraps IndexedDB database in an Angular service combined with the power of observables, so let's dive in.
First we install angular, open your command line in the folder you want to start your application in and enter the command below.
npm install -g @angular/cli
Create a new app
ng new indexeddb-app
cd indexeddb-app
ng serve
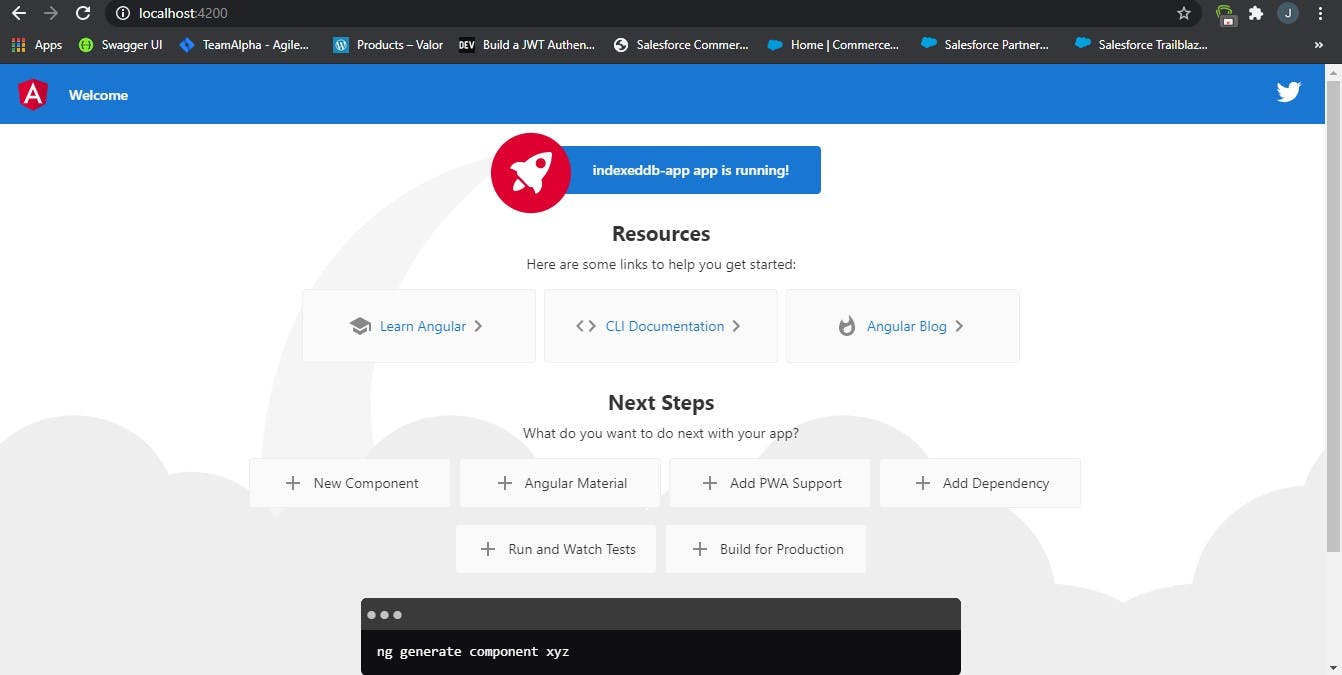
If everything go as planned we should be provided with a screen like this.
Now let's add ngx-indexed-db by running the command below.
npm install ngx-indexed-db
Import the NgxIndexedDBModule and FormsModule and initiate them by adding the following line to your app.module.ts file:
import { DBConfig, NgxIndexedDBModule } from 'ngx-indexed-db';
import { FormsModule } from '@angular/forms';

const dbConfig: DBConfig = {
  name: 'coolDB',
  version: 1,
  objectStoresMeta: [{
    store: 'coolTable',
    storeConfig: {keyPath: 'id', autoIncrement: true},
    storeSchema: [
      {name: 'first_name', keypath: 'first_name', options: { unique: false}},
      {name: 'last_name', keypath: 'last_name', options: { unique: false}},
      {name: 'profile_photo', keypath: 'profile_photo', options: { unique: false}},
      {name: 'email', keypath: 'email', options: { unique: true}}
    ]
  }]
};

@NgModule({
    ...
    imports: [
        ...
        NgxIndexedDBModule.forRoot(dbConfig),
        FormsModule
    ],
    ...
})
Now open app.component.html and replace content with this code
<style>
  .container{
    margin: 30px 40px;
    padding: 20px;
    border-radius: 4px;
    box-shadow: 1px 2px 4px rgba(0, 0, 0, 0.3);
  }
  .control{
    margin: 20px
  }
</style>
<div class="container">
  <form #dataForm = "ngForm" (ngSubmit)="submitData(dataForm)" enctype="multipart/form-data" novalidate>
    <div class="control">
      <!-- error or success message will be shown here -->
      <p *ngIf="submitted">{{returnMsg}}</p>
    </div>
    <div class="control">
      <label>First name: </label>
      <input ngModel name="first_name" type="text">
    </div>


    <div class="control">
      <label>Last name: </label>
      <input ngModel name="last_name" type="text">
    </div>

    <div class="control">
      <label>Email: </label>
      <input ngModel name="email" type="email">
    </div>

    <div class="control">
      <label>Profile Picture: </label>
      <input ngModel name="photo" type="file" (change)="fileEvent($event, dataForm)">
    </div>

    <div class="control">
      <button type="submit">Submit</button>
    </div>
  </form>
</div>
We are using ngModel to pass data to our form. We define a fileEvent function which will get the uploaded file and pass the data as a File type which we will save in our DB.
Next we need to create our fileEvent and submitData functions so go ahead and open the app.component.ts file and paste the following code.
import { Component } from '@angular/core';
import { NgxIndexedDBService, IndexDetails } from 'ngx-indexed-db';

@Component({
  selector: 'app-root',
  templateUrl: './app.component.html',
  styleUrls: ['./app.component.css']
})
export class AppComponent {
  title = 'indexeddb-app';
  returnMsg: string;
  submitted: boolean = false;
  fileData: any;

  //import the ngxindexed service
  constructor(private dbService: NgxIndexedDBService){

  }

  submitData(form){
    //get value of form
    const data = form.value;

    this.submitted = true;

    //check if form is valid
    if(data.first_name && data.last_name && data.email && data.photo){
      //add data to indexedDB
      this.dbService.add('coolTable', {
        first_name: data.first_name,
        last_name: data.last_name,
        profile_photo: data.photo,
        email: data.email
      })
      .subscribe((key) => {
        this.returnMsg = "Data added successfully";
        console.log('key: ', key);
      });
    }
    else{
      //return an error
      this.returnMsg = 'Enter all form values';
    }

  }

  //function to get attached file
  fileEvent(e, form){
    //get attached file
    this.fileData = e.target.files[0];

    //set the value of photo to attached file
    let data = form.value;
    data.photo = this.fileData;

  }
}
What is happening here? First we import the NgxIndexedDBService which will give us access to methods we can use to perform operations on our indexedDB. Then define our submitData function which we pass our form as a parameter and get the value of our form as a constant which we are calling data. Since we are submitting the form, we set submitted to true and then do a check to see if our form is valid by checking if all input fields contain a value.
If there are values in all of our input fields we go ahead with our indexedDB transaction or we return an error message. We use the add method provided by the NgxIndexedDBService which we imported as dbService. So we add to coolTable the values first_name, last_name, email and profile_photo.
The fileEvent function is use to get the attached value of the file input field and then we set the value of photo field our form to the file value which is of type File.
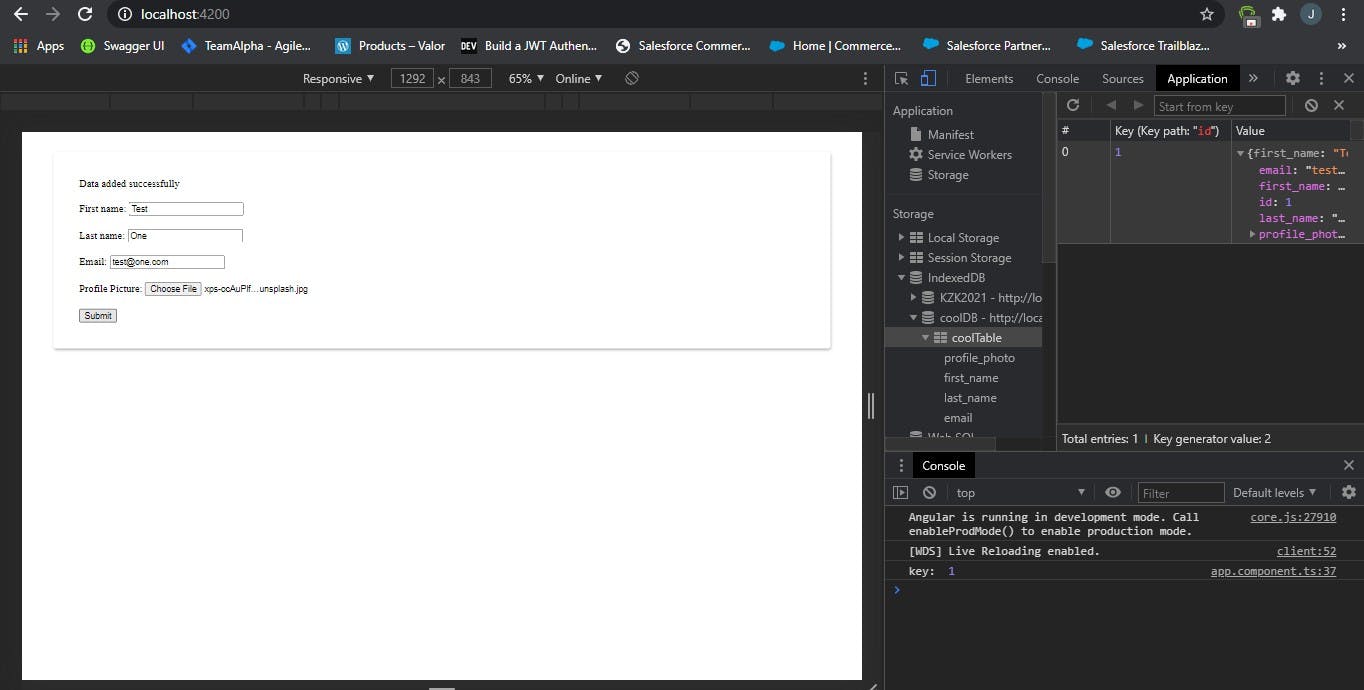
After submitting our form we can find our data saved successfully in our IndexedDB as shown in the above image. You can view by going to developer tools in your browser and clicking on Application. (In Google Chrome, just right click and select inspect or press Ctrl + Shift + I)
We can define a function to retrieve all data by index.
//function to retrive all by index
  getFromIndexDb(email){
    let index_detail:IndexDetails = {
      indexName: 'email',
      order: 'asc'
    }

    //get all data with the email field equal to the email passed
    this.dbService.getAllByIndex('coolTable', 'email', IDBKeyRange.only(email))
    .subscribe((kpis) => {
      console.log(kpis);
    })
  }
That's it folks, hoped this helped you can find more methods by visiting the package page. A github repo to this tutorial can be found here https://github.com/nanaVekta/indexedDB-tutorial
Photo credit: Unsplash.co